Trimming Pet Nails Safely at Home
by admin in Pet Care Basics 223 - Last Update December 3, 2025
I still remember the first time I tried to trim my dog\'s nails at home. It was a disaster. He was squirming, I was sweating, and we both ended up stressed out. The \'click-clack\' sound of his long nails on our hardwood floors was a constant reminder of my failure. For years, I just outsourced the job to the vet or groomer, but the anxiety it caused my pet (and my wallet) made me determined to find a better way. It took patience and a lot of trial and error, but I finally cracked the code to calm, safe, at-home nail trims.
The tools that changed everything for me
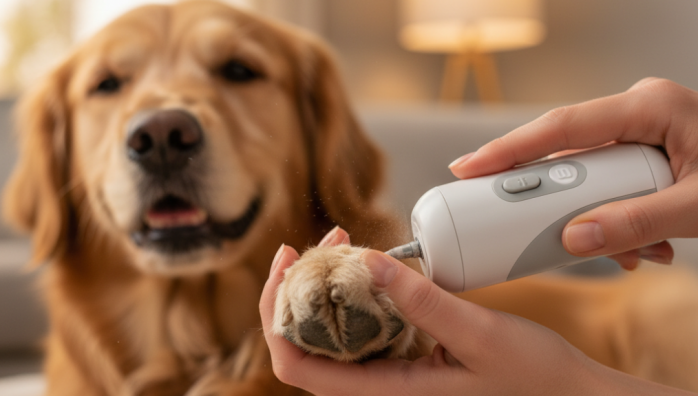
Initially, I used the standard guillotine-style clippers, and that\'s where things went wrong. The sharp \'snap\' sound startled my dog, and I was terrified of cutting the quick. After a friend\'s recommendation, I switched to a pet nail grinder. It was a game-changer. The gradual filing process gave me so much more control and felt less invasive. Of course, many people have great success with clippers. My advice is to find what you and your pet are most comfortable with.
What I keep in my nail care kit:
- A high-quality nail grinder or clipper: Don\'t cheap out here. A good tool makes the job easier and safer.
- Styptic powder: This is my safety net. It quickly stops bleeding if you accidentally nip the quick. Just having it nearby gives me peace of mind.
- High-value treats: I use small pieces of chicken or cheese – something my pet absolutely loves and only gets during grooming sessions.
Creating a calm and positive environment
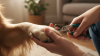
I learned the hard way that you can\'t just grab your pet and start trimming. The setup is just as important as the technique. I always choose a quiet time of day when the house is calm, usually after a long walk when my dog is a bit tired and relaxed. We sit on a comfy rug in a well-lit room. I let him sniff the grinder while it\'s off, giving him treats and praise. We don\'t even attempt a trim on the first day; it\'s all about building positive association.
My step-by-step trimming process
Patience is the most important part of this process. My goal is never to do all four paws in one sitting. Sometimes, we just do one nail a day, and that\'s a win.
- Get comfortable: I sit on the floor with my pet, holding his paw gently but firmly. I never squeeze.
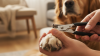
- Isolate the nail: I gently push back any fur to get a clear view of the nail. For my dog\'s dark nails, I use a flashlight to help spot the quick (the pinkish part with blood vessels).
- Trim a tiny bit at a time: With either clippers or a grinder, I take off just the very tip of the nail. With a grinder, I work in short bursts of a few seconds each to avoid heat buildup.
- Check your progress: As you get closer to the quick, you\'ll see a small, dark circle appear in the center of the cut nail. That\'s your signal to stop.
- Reward, reward, reward: After each nail, my pet gets a treat and lots of praise. This makes the whole experience feel like a fun game for him.
Honestly, the key is to go slow and end the session on a positive note, even if you only managed to trim one nail. It\'s about building trust, not speed. If your pet shows any signs of significant distress, it\'s always best to stop and try again another day. For pets with extreme anxiety, I always recommend talking to your vet or a professional trainer for guidance on desensitization.