Safely Preparing BARF Meals at Home
by admin in Pet Care Basics 188 - Last Update December 6, 2025
When I first considered switching my dog, Baxter, to a BARF (Biologically Appropriate Raw Food) diet, my mind was flooded with doubts. It wasn\'t about the cost or finding recipes; my biggest hang-up was safety. The idea of handling raw meat, bones, and organs in my own kitchen felt daunting. I had visions of salmonella lurking on every surface. It took me a while, but I eventually developed a simple, stress-free system that prioritizes safety above all else. I want to share the practical steps that gave me the confidence to prepare Baxter\'s meals at home.
Sourcing and storage: your first line of defense
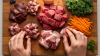
Honestly, safety begins before the food even enters your house. I learned early on that the quality of your ingredients is paramount. I always buy human-grade meat from a butcher I trust or reputable online suppliers specializing in raw pet food. It costs a bit more, but the peace of mind is worth it. When I get a bulk delivery, I immediately portion it into meal-sized, freezer-safe containers and get it into the deep freeze. This minimizes the time it\'s sitting in the temperature \'danger zone\' and makes daily prep much faster.
Creating a dedicated and clean workspace
Cross-contamination was my number one fear. To combat this, I created a dedicated \'dog food only\' zone in my kitchen. It\'s nothing fancy, just a specific corner of my counter that I clear and sanitize before and after every prep session. Here’s my toolkit:
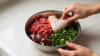
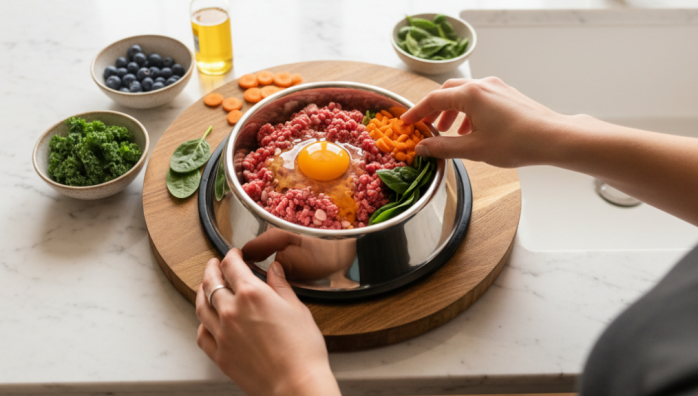
- Stainless Steel Bowls: I use them for mixing and serving. They\'re non-porous, so they don\'t harbor bacteria like scratched plastic can, and they\'re easy to sterilize in the dishwasher.
- A Designated Cutting Board: I have a specific, color-coded, non-porous plastic cutting board used exclusively for raw meat for the dog. It never, ever touches my own food.
- Sharp Knives: A dedicated set of sharp knives makes cutting through meat and soft bones safer and cleaner, with less mess.
Having separate tools completely removes the risk of accidentally using a contaminated utensil for my family\'s dinner.
My step-by-step safe prep routine
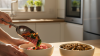
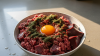
Once I have my ingredients and my clean workspace, the process is straightforward. I only thaw enough food for the next 24-48 hours in the refrigerator, never on the countertop. When it\'s mealtime, I place the thawed ingredients in the stainless steel bowl, add any supplements like fish oil or pureed veggies, mix it all up, and serve. The key is efficiency and minimizing contact with other surfaces.
The crucial cleanup process
This is the most important part of the entire routine. As soon as Baxter\'s bowl is on the floor, my cleanup begins. First, I wash all tools, bowls, and the cutting board with hot, soapy water. After that, I wipe down my entire prep surface, the sink, and the faucet handles with a pet-safe disinfectant. And of course, I wash my hands thoroughly before and after handling the raw food. It might sound a bit obsessive, but this two-step cleaning process ensures no lingering bacteria are left behind.
Embarking on a raw feeding journey felt like a huge responsibility, but by focusing on these safety protocols, it\'s become a simple and rewarding part of our daily life. Remember, this is the system that works for us, but I always recommend chatting with your vet or a canine nutritionist to ensure the diet is balanced and appropriate for your specific pet\'s needs.