Safe Nail Trimming for Dogs at Home
by admin in Pet Care Basics 139 - Last Update November 18, 2025
I still remember the first time I tried to trim my rescue beagle\'s nails. It was a disaster. He yelped, I panicked, and we both ended up stressed. For years, I just paid a groomer, convinced I was incapable. But over time, with patience and a bit of learning, I realized that trimming my dog\'s nails at home could be a calm, bonding experience. It just takes the right approach, and I want to share what I\'ve learned with you.
Choosing the right tools for the job
The wall of nail trimming tools at the pet store can be overwhelming. Honestly, it comes down to two main types: clippers and grinders. I\'ve used both extensively. For my current dog, a Golden Retriever with thick nails, I prefer the plier-style (or scissor-style) clippers. They give a clean, quick cut. Guillotine-style clippers are great for smaller dogs, but I found they can sometimes crush thicker nails. Nail grinders are fantastic for smoothing edges and for dogs who despise the \'snip\' of clippers, but the noise and vibration require some patient training to get them used to it. The key is to choose a tool that feels comfortable and secure in your hand.
Don\'t forget the styptic powder
This is non-negotiable. Accidents happen, even to the most experienced groomers. Having styptic powder on hand to quickly stop any bleeding if you nick the quick will save you a lot of stress. It\'s my little safety net that gives me the confidence to do the job calmly.
Creating a calm and positive environment
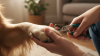
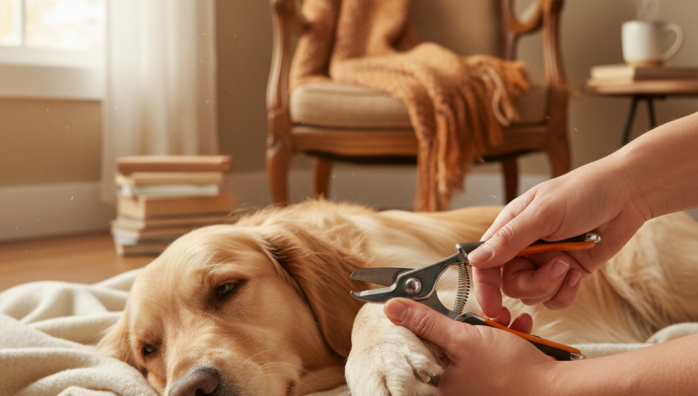
I learned the hard way that you can\'t just chase your dog around the house with a pair of clippers. I now have a \'nail trim\' ritual. We do it in a quiet, well-lit room, usually after a long walk when he\'s a bit tired and relaxed. I lay out his favorite blanket and have a small jar of high-value treats (like tiny pieces of cheese) ready to go. The goal is to make your dog associate the clippers with a calm environment and tasty rewards, not a wrestling match.
The step-by-step trimming process
Once you\'re both calm and ready, the process itself is straightforward. My advice is to start small. You don\'t have to do all four paws in one sitting. Maybe just one nail the first day, followed by lots of praise and a treat. Here\'s my method:
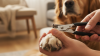
- Hold the paw gently but firmly. Don\'t squeeze. I gently separate one toe with my fingers.
- Identify the quick. On dogs with light-colored nails, it\'s the pink part you can see inside. For dark nails, it\'s trickier. I always err on the side of caution and just trim the very tip of the nail. Look for a small, dark circle in the center of the cut nail; when you see it, you\'re getting close to the quick and it\'s time to stop.
- Make small, confident cuts. Take off just a tiny sliver at a time. It\'s much better to trim too little than too much. I aim for a 45-degree angle, cutting straight across the tip.
- Reward, reward, reward! After each successful clip, I give a treat and some praise. This positive reinforcement is everything.
- What if you cut the quick? Don\'t panic. It\'s upsetting, but your dog will be okay. Calmly take a pinch of styptic powder and press it firmly onto the nail tip for about 30 seconds. The bleeding will stop. Give your dog a break, lots of love, and maybe end the session for the day. Remember, this is just my personal experience, and it\'s always wise to have a chat with your vet if you have any concerns.
Turning nail trimming from a dreaded chore into a manageable task has been a game-changer for me and my dog. It\'s saved money, reduced stress, and even strengthened our bond. With a little patience and preparation, it can for you, too.