Performing Dog CPR Basics
by admin in Pet Care Basics 223 - Last Update November 27, 2025
I hope you never, ever need this information. But the one time my oldest dog had a sudden collapse, the sheer panic I felt was overwhelming. In that moment, I realized I wasn\'t prepared. That scare prompted me to take a pet first aid and CPR course, and what I learned was both humbling and empowering. Knowing the basics, even if you just read them here, is infinitely better than knowing nothing when seconds count.
Before you start: The A-B-C check
The first thing my instructor drilled into us was that CPR isn\'t the first step. You must first check the A-B-Cs: Airway, Breathing, and Circulation. This is a quick assessment to see if CPR is even necessary.
- Airway: Gently open your dog\'s mouth and pull their tongue forward. Look for any obstructions. If you see something, carefully try to remove it.
- Breathing: Look for the rise and fall of their chest. Feel for breath on your cheek. If there\'s no breathing for 10-15 seconds, you need to act.
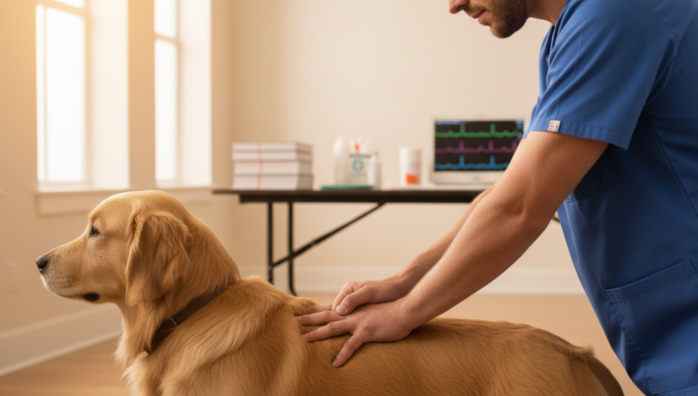
- Circulation: Check for a pulse. The easiest place I\'ve found is the femoral artery, high up on the inside of their back leg. If you can\'t find a pulse and they aren\'t breathing, it\'s time to begin CPR.
The two main parts of dog CPR
Dog CPR is a combination of chest compressions and rescue breaths, much like it is for humans. The goal is to manually pump blood and push air into the lungs until their heart and respiratory system can hopefully take over again. It’s a bridge to get them to the emergency vet.
Chest compressions: The technique I learned
Where you place your hands depends on the size of your dog. For most medium to large dogs, have them lie on their right side. Place your hands, one on top of the other, over the widest part of their chest, right behind their elbow. For barrel-chested dogs like Bulldogs, you might need to have them on their back. For very small dogs or cats, you can often use a one-handed technique, wrapping your hand around their chest so your thumb is on one side and your fingers are on the other.
The rhythm is key. You need to push hard and fast, aiming for about 100-120 compressions per minute. The beat to the song \"Stayin\' Alive\" is the perfect tempo. Compress the chest to about 1/3 to 1/2 of its normal depth.
Rescue breaths: How to do it safely
After a set of compressions, you give rescue breaths. For this, you close your dog\'s mouth and breathe directly into their nose until you see their chest rise. I was taught to create a seal with my mouth over their entire snout. Give two breaths, then immediately go back to compressions.
The 30:2 ratio: Putting it all together
The cycle I was trained on is 30 chest compressions followed by 2 rescue breaths. You continue this cycle without stopping. It’s physically exhausting, and if someone else is there, you should switch off every couple of minutes to maintain the quality of the compressions.
My most important takeaway: This is a bridge to the vet
Performing CPR is physically and emotionally draining. The most critical lesson I learned is that CPR is not a cure; it\'s a life-sustaining measure you perform while someone else is driving you to the nearest emergency veterinarian. The goal is to keep blood and oxygen moving to the brain and other organs. Please, I urge you to look up local pet first aid courses. This information is a basic guide, but hands-on training is irreplaceable. Always prioritize getting to a vet, as that is your pet\'s best chance of survival.