Performing CPR on Your Dog
by admin in Pet Care Basics 179 - Last Update November 14, 2025
I'll never forget the first time I attended a pet first aid workshop. I walked in thinking I knew a lot about dog care after a decade of owning them, but the CPR module was a truly humbling experience. The thought of my own dog collapsing, lifeless, sent a chill down my spine. It’s a scenario no one wants to imagine, but honestly, learning the steps to take in that moment is one of the most responsible things I've ever done as a pet parent. It's not about replacing a vet; it's about giving your best friend a fighting chance to get to one.
First, is it truly an emergency?
Before you ever start compressions, you have to assess the situation in seconds. This is what the professionals call the 'ABCs'—Airway, Breathing, and Circulation. I was taught to stay as calm as possible and check these three things. Is your dog responsive? Gently tap them and call their name. If there's no response, carefully open their mouth to check for any obstruction in the airway. Look and feel for the rise and fall of their chest. Are they breathing? Finally, try to feel for a pulse, either on the inside of their thigh (the femoral artery) or by placing your hand over their chest where the elbow meets the body. If you find no breathing and no pulse, it's time to begin CPR and have someone else call the nearest emergency vet immediately.
The two parts of canine CPR
Dog CPR, much like human CPR, is made up of two key actions: chest compressions and rescue breaths. The goal is simple: to manually pump blood to the vital organs and deliver oxygen to the lungs. It's physically demanding and emotionally taxing, but consistency is key.
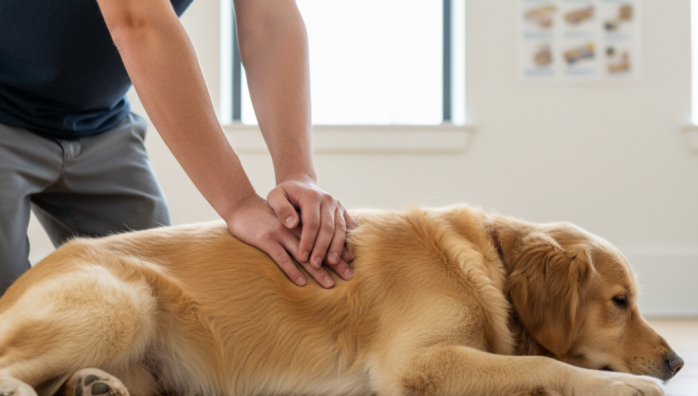
Step 1: Chest compressions
How you perform compressions really depends on the size of your dog. I’ve had both a tiny Jack Russell and a lanky Labrador, and the technique is different for each. For most dogs, you'll want to lay them on their right side on a firm surface. Place the heel of one hand over their chest right behind their elbow, and place your other hand on top. With your arms straight, push down hard and fast. You’re aiming to compress the chest by about one-third to one-half its depth. The rhythm is crucial: aim for 100 to 120 compressions per minute. A trick I learned is to pump to the beat of the song 'Stayin' Alive'—it's almost the perfect tempo. For very small dogs or puppies, you can often just use one hand to encircle their chest and squeeze with your thumb and fingers.
Step 2: Rescue breaths
After 30 chest compressions, it's time for rescue breaths. This part felt strange at first, but it's vital. You need to hold your dog's muzzle closed with your hands and create a seal with your mouth over their nose. Gently breathe into their nostrils twice, just enough to see their chest rise. Don't over-inflate the lungs. Each breath should last about one second.
The complete CPR cycle
The pattern is 30 compressions, then 2 breaths. Repeat this cycle continuously. If possible, have someone else drive you to the emergency vet while you continue CPR in the car. It’s exhausting, but you should continue until your dog starts breathing on its own, you arrive at the vet, or you are physically unable to continue. Remember, this is a last-resort effort. My hope is that you never have to use this skill, but being prepared can turn a moment of panic into a moment of action. I always recommend taking a certified pet first aid course, as hands-on training is invaluable, and this guide is purely for educational purposes until you can get to a vet.