Safe Handling Raw Meat for Pet Meals
by admin in Pet Care Basics 172 - Last Update November 15, 2025
When I first decided to switch my dog, a boisterous Golden Retriever named Gus, to a raw diet—specifically the BARF (Biologically Appropriate Raw Food) model—my biggest hang-up wasn't the food itself. It was the process. I stood in my kitchen, looking at a package of raw chicken quarters, and felt a wave of anxiety. How could I prepare this safely without turning my kitchen into a biohazard zone for my family? It took time, research, and a bit of trial and error, but I've since developed a simple, stress-free system that I swear by.
Why this process is so important to me
Honestly, the fear of cross-contamination is valid. Pathogens like Salmonella or E. coli are a real concern, not just for our pets but for us humans, too. The goal of a raw diet is to improve our pets' health, not put them (or us) at risk. For me, creating a strict food handling protocol wasn't just about being clean; it was about having peace of mind. It allowed me to focus on the benefits of the diet without constantly worrying that I was doing something wrong. This routine is what made raw feeding a sustainable and positive part of our lives.
My step-by-step guide to safe raw meat prep
This is the exact routine I follow every single time I prep Gus's meals for the week. Consistency is the key to safety.
- Designate your space and tools. I have a specific area of my kitchen counter that is the 'raw prep zone.' I also have a dedicated set of tools: a large, non-porous cutting board (plastic, not wood), a sharp knife, and stainless steel bowls. These items are *only* for Gus's food.
- Thaw with care. I never, ever thaw meat on the counter. The 'danger zone' for bacterial growth is real. I always thaw it in a sealed, leak-proof container on the bottom shelf of my refrigerator. This takes a day or two, so I plan ahead.
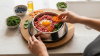
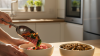
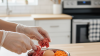
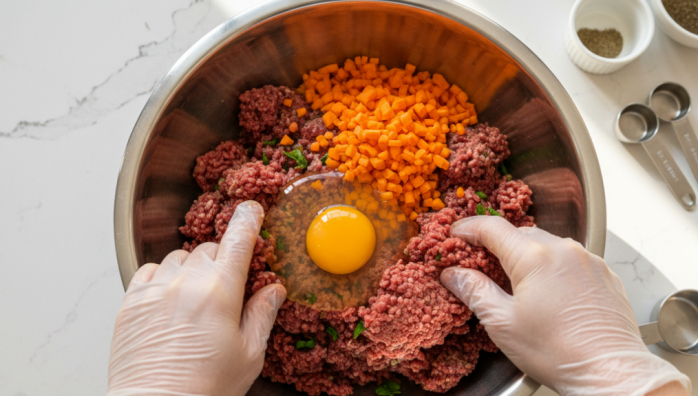
- Prep and portion. I usually wear disposable gloves for this part. I chop the meat, organs, and bones (if applicable) on the dedicated cutting board. I then portion the meals into individual containers. This makes daily feeding a simple grab-and-go process.
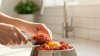
- Clean up immediately and thoroughly. This is the most critical step. As soon as I'm done portioning, everything goes straight into the dishwasher on a high-heat setting, or gets washed by hand in very hot, soapy water.
- Sanitize the zone. After washing, I spray down the counter, sink, and any other surfaces the raw meat may have touched with a pet-safe disinfectant. I let it sit for a few minutes before wiping it clean with a paper towel, not a reusable sponge.
The tools that make a difference
You don't need a lot of fancy equipment, but a few key items made my life much easier. Here's what's in my raw-feeding toolkit:
- Stainless steel or glass bowls: Unlike plastic, they don't harbor bacteria in tiny scratches. They are a must-have for both prepping and feeding.
- Color-coded cutting boards: I use a red board for Gus's meat, which is a simple visual cue to everyone in the house that it's for the dog's food only.
- Food-grade airtight containers: For storing the prepped meals in the fridge or freezer. Glass is my preference here as well.
While this might sound like a lot, it quickly becomes second nature. It's a small investment of time for the huge benefit of a healthy, thriving pet. Of course, this is the system that works for me and my dog, but I always recommend chatting with your vet or a certified animal nutritionist to ensure a raw diet is the right choice for your specific pet's health needs.