Performing Basic CPR for Your Pet
by admin in Pet Care Basics 149 - Last Update November 24, 2025
The thought of finding your pet unresponsive is something none of us ever want to face. I remember the first time I took a pet first-aid course; my hands were shaking just practicing on the training dummy. It felt overwhelming. But over the years, I\'ve realized that knowing what to do in those first critical moments isn\'t about being a hero—it\'s about being prepared to give your best friend a fighting chance. It transforms panic into focused action, and that can make all the difference.
Before we dive in, I have to be crystal clear: this guide is for true emergency situations when a veterinarian is not immediately available. It is not a substitute for professional veterinary care. My goal is to empower you with the basic knowledge for that worst-case scenario, to act as a bridge while you are on your way to an emergency clinic.
First, assess the situation calmly
The first step I was taught, and the one that\'s hardest to remember in a panic, is the A-B-Cs: Airway, Breathing, and Circulation. Before you begin CPR, you must quickly check these.
- Airway: Gently open your pet\'s mouth and pull their tongue forward. Look for any obstructions. If you see something, carefully try to sweep it out with your finger. Be cautious to avoid being bitten.
- Breathing: Look for the rise and fall of the chest. Put your cheek near their nose and mouth to feel for breath. I find watching the chest for 5-10 seconds is the most reliable method for me.
- Circulation: Check for a pulse. The easiest place to find it is the femoral artery, located high on the inside of their back leg. Place your fingers there and feel for a beat.
If your pet is not breathing and you cannot find a pulse, it\'s time to begin CPR.
The chest compression technique
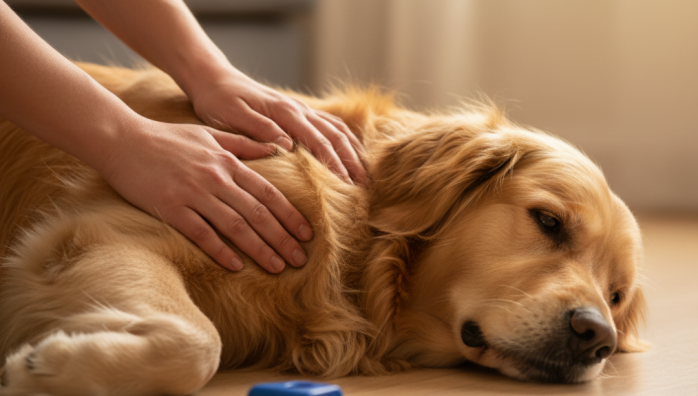
This is the core of CPR. Your pet should be lying on their right side on a firm surface. The way you position your hands depends on their size, which was a real \'aha\' moment for me in my training.
For most dogs and larger cats
Kneel behind your pet\'s back. Place the heel of one hand over the widest part of their chest, right behind the elbow. Place your other hand on top and interlock your fingers. With your arms straight, push down hard and fast, compressing the chest about one-third to one-half of its depth. Don\'t be afraid to use your body weight; it\'s what\'s needed.
For small dogs and cats
For my smaller companions, I\'ve learned a one-handed technique is better. You can either use the heel of one hand like with larger dogs, or you can encircle their chest with your hands, placing your thumbs on one side of the chest and your fingers on the other, and squeezing to compress.
How to give rescue breaths
After compressions, you need to provide oxygen. For pets, this is a mouth-to-snout technique. It felt a little strange at first, but it\'s effective. Hold your pet\'s muzzle closed with your hands, creating a seal. Place your mouth entirely over their nose and give two breaths, just strong enough to see their chest rise. Let the chest fall completely before giving the next breath.
Putting it all together: the 30:2 ratio
The rhythm I\'ve committed to memory is 30 compressions followed by 2 rescue breaths. The compression rate should be fast—about 100 to 120 compressions per minute. My instructor gave me a tip that I\'ll never forget: perform them to the beat of the song \"Stayin\' Alive.\" It\'s the perfect tempo.
Continue this cycle of 30 compressions and 2 breaths. It\'s exhausting, so if someone else is there, switch every two minutes. Your goal is to continue CPR until your pet starts breathing on their own, or until you arrive at the veterinary hospital. Remember, this is a bridge to professional help. The moment you start, someone else should be calling and driving to the nearest emergency vet.